
For simplicity, I will not be sharing the exact quantity of ingredients for the rice and soup. This is because if you are regularly preparing meatless dishes, you can mix and match the items you have in hand according to availability in your kitchen. Except that the main ingredients could be yam but also this can be substituted with pumpkin, too.
Easy, healthy home-cooked meal for your family suitable for the old and young.
Ingredients For Yam Rice [Plus/Minus]
Rice [according to number of servings]
Yam - cut into cubes
Long Beans - cut short sections
Red carrots - peeled and cut cubes
Some Okara bits [dried soy kelp] or mock meat
Some dried mushrooms - soaked and cut cubes
Some King Oyster mushrooms - rinsed and cut cubes
Some chopped ginger
Some chopped Chinese celery or Coriander leaves and red chillies
Seasoning
Vegetarian oyster sauce
Mushroom stock granules
Light soy sauce
Dark soy sauce
pepper
sesame seed oil


- Prepare the ingredients as mentioned above.
- Heat some oil in a non stick pan, fry yam pieces until lightly brown, then add mushrooms to fry until fragrant. Add in ginger, okara bits and other ingredients using except rice. Stir fry to mix well.
- Lastly add in rice and seasoning ingredients. Continue to stir fry until aromatic and well mixed.
- Dish up into rice cooker pot. Add in enough boiled water [about 1 to 1.5 cm above ingredients]. Give it a good stir, taste to adjust seasoning.
- Then cook rice in rice cooker as normal.
- When rice is cooked, fluff up before serving with soup. Garnish with chopped coriander leaves or Chinese celery and red chillies and dash of pepper [own preference].


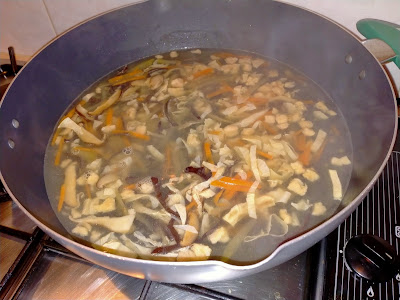
Ingredients For Tofu Soup
Some dried mushrooms and black fungus - soaked and cut thin strips
Some Erngyii mushrooms - tear into strips
Some red carrots - cut strips
Some Szechuan Vegetable - cut strips and rinsed several times
Some Okara bits
Some dried beancurd sticks - soaked and cut strips
Tofu - cut strips
Some chopped ginger
boiling water
Seasoning
some mushroom stock granules, salt and pepper to taste
some sesame seed oil

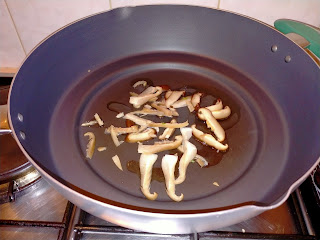
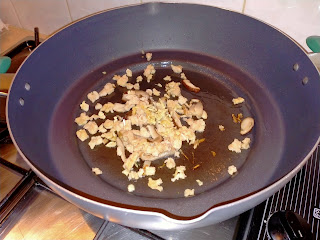
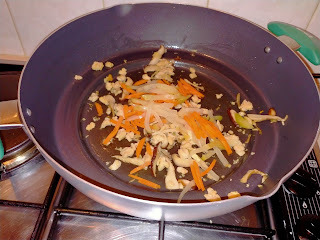
- Dry fry mushrooms over medium heat in a non stick wok until aromatic. Add in some oil, ginger and Okara bits. Stir fry to mix ingredients for awhile before adding Szechuan vegetables and carrots.
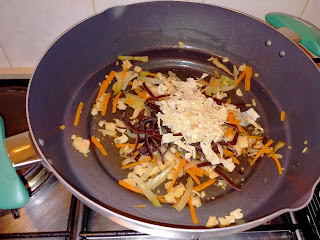
- Continue to stir, then add in black fungs and beancurd stick strips. Stir well, then add in boiling water for the soup.
- Bring to boil for 5-10 minutes before adding tofu. Add seasoning to taste. Bring to a rolling boil for 1-2 minutes.
- You can thicken soup with some cornstarch water or cook as a clear broth soup. Drizzle some sesame oil and dash of pepper before serving.
- Scoop soup into soup bowls, garnish with chopped coriander leaves etc.
- Serve with some black vinegar [optional].


